 APP
APP
利用已经训练好的模型,给它提供输入,看输出
一、输入
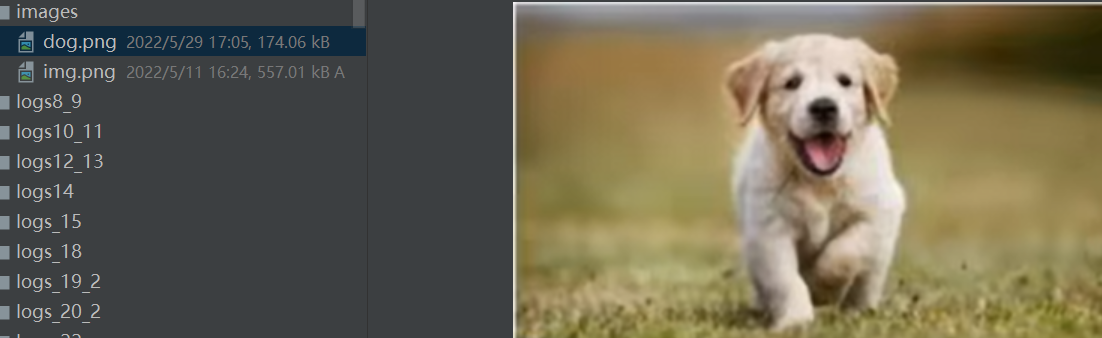
1.找到一张图片
- 对于图片要进行转换
png格式是四个通道,除了RGB三通道外,还有一个透明度通道,通过下面的命令,可以适应png、jpg各种格式的图片。
命令:
image=image.convert('RGB')
二、实验对应的部分
1.代码
import torch
import torchvision
from PIL import Image #直接从PIL中导入Image,不是从PIL.Image
# 1. 图片的输入
from torch import nn
image_path="./images/plane.png"
image=Image.open(image_path)
print(image)
# 2. 转换为三通道
image=image.convert('RGB')
# 3. 将PIL格式转变为tensor数据类型
transform=torchvision.transforms.Compose([torchvision.transforms.Resize((32,32)),
torchvision.transforms.ToTensor()])
image=transform(image)
print(image.shape)
# 4.引入模型结构:也可以单独建立文件夹,利用import
class Tudui(nn.Module):
def __init__(self):
super(Tudui, self).__init__()
self.model1=nn.Sequential(
nn.Conv2d(3, 32, 5, stride=1,padding=2), # in_channel 3;out_channel 32;kernel 5;padding需要计算(一般不会太大)
nn.MaxPool2d(2), # kennel_Size=2
nn.Conv2d(32, 32, 5,stride=1,padding=2),
nn.MaxPool2d(2),
nn.Conv2d(32, 64, 5,stride=1, padding=2),
nn.MaxPool2d(2),
nn.Flatten(), # 展平 :可以把后面的删掉 获得输出的大小
nn.Linear(64*4*4, 64), # 看上一层的大小64*4*4=1024 ,可以看到是1024
nn.Linear(64, 10) # 输入大小 64 输出大小 10
)
def forward(self,x):
x=self.model1(x)
return x
# 5. 使用训练好的模型
model=torch.load("tudui_49_GPU.pth") #由GPU训练
# model=torch.load("tudui_49_GPU.pth",map_location=torch.device("cpu")) #由GPU模型映射到CPU模型上,后面的image不加cuda了
print(model)
# 6. 输出
image=torch.reshape(image,(1,3,32,32)) #转变通道数
image=image.cuda() #因为模型是GPU训练的,数据集也要用,要是CPU训练的模型,就去掉这个命令
model.eval()
with torch.no_grad(): #节省步骤,提升性能
output=model(image)
print(output)
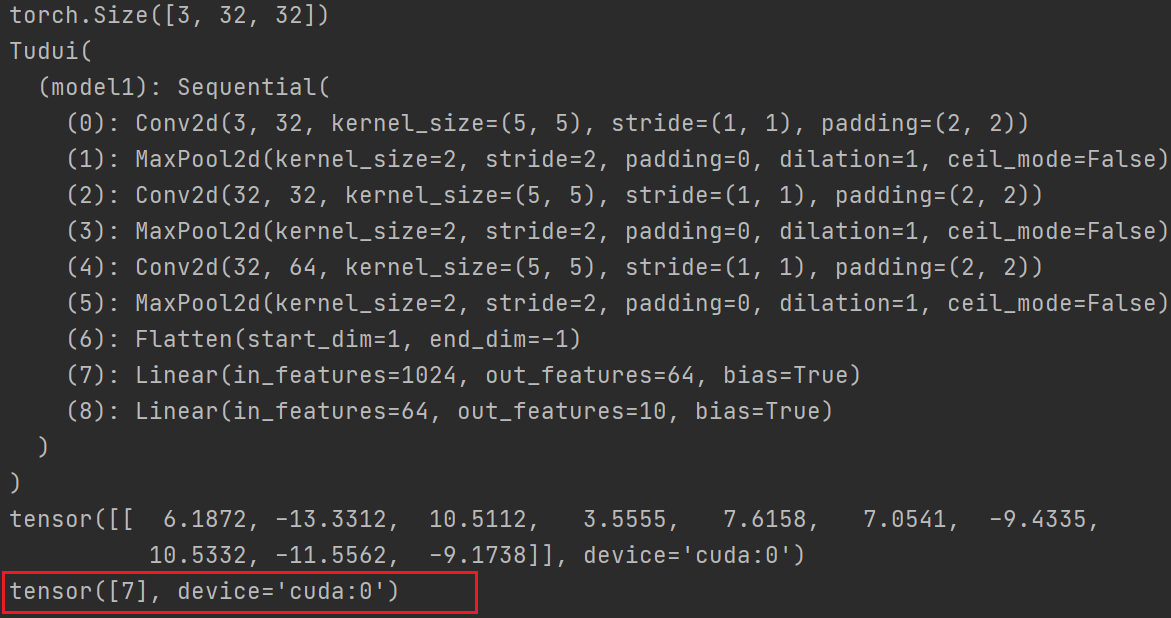
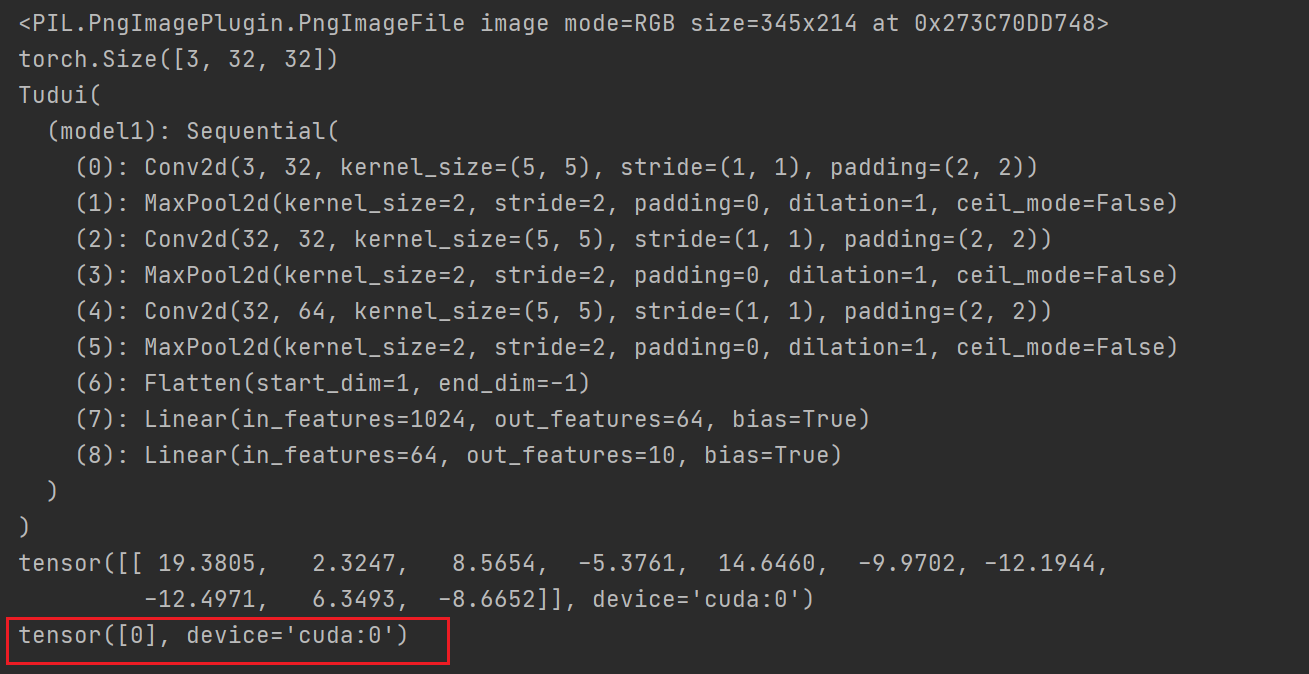
print(output.argmax(1)) #横向比较
2.输出对应的类别
3.运行结果:
利用colab运行50轮后的结果:测试集准确度0.65
预测狗
预测飞机
本文摘自 :https://www.cnblogs.com/
